Star Wars Rogue One Style Lighting

MartinSax

New member
Dear all,

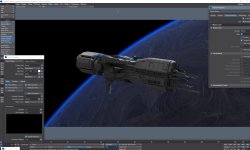
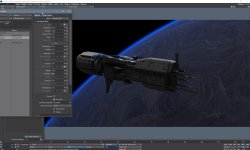
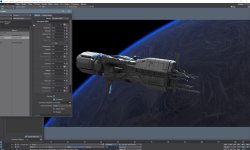
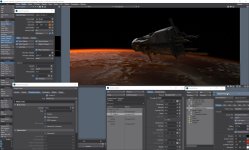
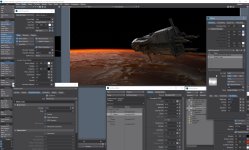
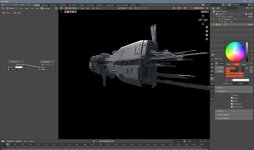
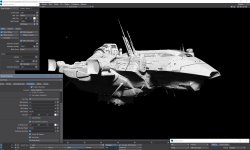
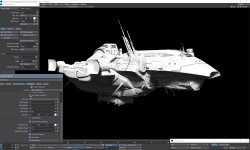
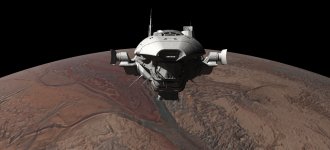
I have been working on the the following, trying to capture the lighting from the modern day Star Wars like Rogue one.

I see tutorials on Blender that get the look alot better, but in Lightwave seems harder, using DP Lights and Fusion for compositing, but wondered if anyone had any suggestions:


FYI here is the Blender link, which obviously was the style to emulate:
 
He´s using the sky texture nishita model with negative brightness levels, the nishita model can be controlled nodally..lightwave´s sky models can´t.
That said, you should be able to do decent lighting, but I am not sure why you are using DP light´s for it? unless it is the Nishita lighting you are after?

I think a lot has to do with tweaking it right, the right GL settings as well. the problem for me is that Lightwave takes a bit too long to VPR refine tweakings, so it just takes more time to setup than in blender.

I would suggest to maybe look in to Octane to render this instead, there´s a free version I haven´t tried yet myself.

The native physical sky in lightwave (in LW 2019) has no nishita model, could be there in 2020, of that I am not sure though.
But DP light has that nishita model, but extremely slow compared to blenders nishita model.

You could also try the native physical sky, but in effects properties in the compositing tab, check the use background color and set to black, this kills of the physical sky backdrop, while it is still contributing to color, light brightness and Global illumination.
So you don´t approach it the same way with the sky model and try to inverse the brightness with a node or something like that, just turn on use background color in the compositing tab (not the backdrop color in the backdrop tab)

Radiosity tab and set enough rays for the GI, and also..increase intensity i needed.
if you do want more darker non direct light illumination, just lower GI radiosity intensity, this will give a more subtle effect like lit from below or whatever direction the light has..so it looks like illuminated from a planet or so.
if You want the alien look at it, almost turn it off completely :)


But for speed sake, check up Octane for lightwave, or get a new very fast CPU if you don´t have already, or use blender.

Sample below, just a quick setup with standar materials, you would of course like to use PBR materials.

The light´s size tab is controlling how harsh and bright the illumination is, lower size and it´s gonna be harsch and sharp, temperature also matters for cooler colors and brightness.
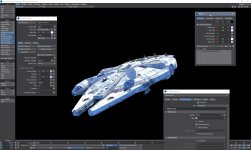
Falcon.jpg


Difference with 200 GI intensity VS below at 20, I would go there in between probably, but I am not gonna advice that until I set up proper PBR materials.


Falcon2.jpg


If you are using Lightwave 2020 and up, The environment and GI is different.
 
Last edited:
The Star Wars lighting is stylized, not really reallisticly when it comes to direct lighting only.
Often there are ships above planets and as such you kind of see some planet illumination reflect light on to the space ships, but even in pure dark space the ships are lighted with more sources than just direct sun/star lighting, just too give some contrast and shaping to the ship design.

Of course, instead of GI, you could use environment light to fill light the none direct light parts, this will however rule out any detail surface bouncing when surface parts are in such angles it could reflect light towards eachother.
 
keep in mind that Lightwaves physical sunlight has built in color temp changes depending on how you rotate the direction of the light in the pitch settings, so that would change lighting color drasticly, you need to turn off certain scatter settings.

Same with Dp sunsky and dp sun, there you can however turn of saturation and hue in the light´s sun editing tab, and also turn off contrast preferably in the sunsky environment tab.

You can use both environment light and GI to boost up the whiteness of the ship hull, or use only one of them, depends on quality and looks of it all that you are after,
Also..actual surface color maps and it´s settings matters, as well as if you set PBR to metallic or none metallic, non metallic will yield much whiter looks to the hull.

Some samples, though this one isn´t star wars.
Personally I would probably prefer darker look on the part´s that aren´t in direct light.

Also, using a point or spherical light in the same origin as a planet, and use that as rimlight with a proper color to simulate the atmosphere light emitted.

1.jpg
2.jpg
3.jpg
4.jpg
 
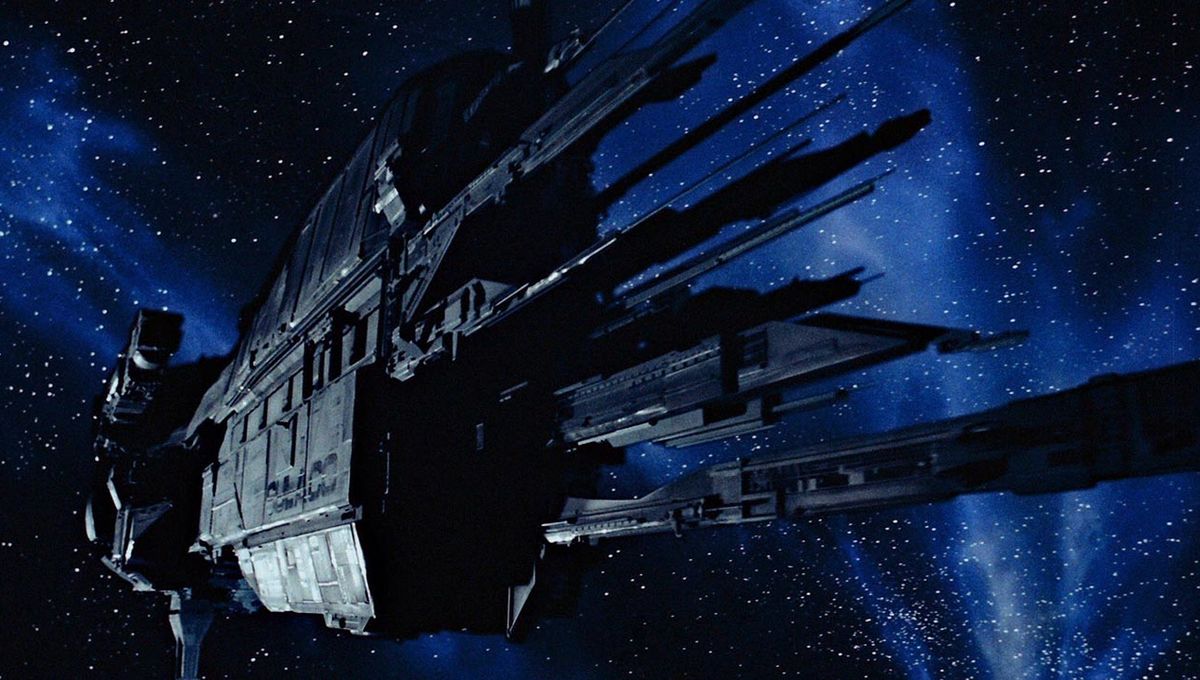
The Alien lighting is completly different though, high metallic surfacing, and no GI, harsh and dark shadows and isn´t what you want, but anyway, for history and reference sake..

As for lighting of the star wars style, just boost light´s and GI up or environment lighting, and keep metallic surfacing very low or set to none, high rougness on the surface.

aliens_sulaco_hero_01.jpg
 
So the help has been good, i tried to adjust as you said, i swapped all the lighting around, adjusted accordingly, but still the end result is pretty much the same:

Doesnt seem to matter how much i adjust or re-render it just either starts to over brighten or worse. Im going to look at the textures next of the model. Maybe something isnt right there.

Test2.jpg
 
Too little information though on the settings, what light are you using?
Seems you do not have the GI activated.
I would need to see the GI settings, and what kind of sky backdrop you are using.
 
make sure you sample the backdrop, since you control the GI with the sunsky environment, at least I do in this case, some more settings.
But it´s a lot to think of, you control the GI result partly by the GI itself and intensity, but the sunsky environment and brightness and contrast effects all that, as well as the the actual sk sunlight controlls the harsh direct lighting, turbidity is another thing to be aware of, and size of the light.

You can also rig some kick/fill light to follow where ever your ship move, like in this sample by parenting both the ship and the fill light to a master light control null.
so moving of the ship is done by the master null, and rotation of the ship by using the ship itself, this will not affect the fill light that is parented to the master null, if the light would have been parented to the ship only, then when rotating the ship it would have rotated along and the lighting would be totally off.
Inverse intensity is unchecked, a proper color match agains the atmosphere of the planet.

Not exactly starwars lighting, but you should get the idea, if you want whiter ship, increase the brightness or contrast in sunsky environment, or radiosity intensity, or add/use environment light.

Sulaco.jpg

Sulaco2.jpg


Maybe some settings there could help.
 
And last for tonight, a bit brighter since I reduced metallic surface from 65 or so to 10, gives more "diffusion" to the hull.
And some boosting up of the sunsky brightness.

I need to locate my StarWars models though :)

Sulaco3.jpg
 
What is the point of using a physical sky in this case? The initial post is about a scene in outer space. No planet nearby.

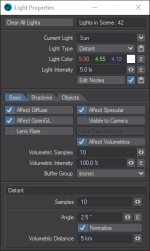
I would use a Distant light and GI.

Light_001.jpg

Lighttest_004.jpg

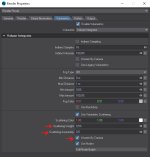
If you like, you can use Volumetric Scattering to get a little light into the unlit surfaces. Even if this is not realistic in space. Here I only used very little Scattering Weight plus Scattering Asymmetry. You can use it with or without an Unseen By Camera.

Lighttest_005.jpg

Volumetric_01.jpg

Unfortunately, my object has no useful UV maps and no suitable textures. I only use an irregular colormap. Since it has only a few windows, I simply instanced a bright square on the ship to get some lit windows (or demo purposes).

I also used Tonmapping (Filmic) here. Only for demo purposes directly in Lightwave (don't do that at home ;)).

It seems as if you are using a glow. That looks unnatural to me.

ciao
Thomas

P.s.: This is a quickly compiled test without a elaborated model and materials only to show the basic approach.
 
Last edited:
You could do that Thomas, so a perfect good point to ask.
But I would guess the distant light is not as physicly correct as physicle light in terms of falloff or how it affects surfaces, would be nice to look in
to a full comparison though.
Distant lights are faster to render, and you don´t have to worry about color changes on the pitch, which you have to adress with both physicle light and the sk sunlight.

The actual sk sunsky environment or physical sky is of course there to be used with GI and use backdrop for the radiosity GI, for the distant light you would just set your backdrop color to pure white, block it with whatever background star image or space image you have, if you use that, or block with black color so the white is only affecting the GI.

So Absolutely, it should be good enough, but as mentioned, how each light is affecting the surfaces..that´s a topic of it´s own I think.

Second image is looking really good there, but for filling in darker areas, not really needed and too expensive for rendering, unless you aim to give space that atmospheric look, which seems to be popular anyway, though not really realistic; for my taste..I would probably boost up the darkers sides a bit more though.

So you didn´t use any white backdrop color for the GI illumination? just the volumetric scatter?

I think I need to look in to more references for the rouge episodes and it´s starship space shots, thought they were more lighted on the darker sides.

I was just testing how good the lighting would be with the sky environment options, mostly checking with sk sunsky, hosek model, in blender they use nishita model, dp´s sunsky nishita model is extremely slow though.

But those models are designed to generate lighting environment based on what we see from earth, so definitely not relly needed otherwise.
White color backdrop and GI in combo with that, or volumetric scatter, or environment light works too.

Sun angle, I see you used a higher value (2.5) than set down to earth so to speak, did you just go with a good look on that, or any physicly research about that one?

The unseen camera in the bottom settings of the volumetrics, sure, but you have to enable affected by volumetrics in the GI tab, so the scatter intensity affects the illumination.
But that´s not what you used, so not sure why you refer to that, or if you refered to the indirect unseen by camera?

But using volumetric scattering to fill in ..instead of just using a white backdrop? not sure if that has advantages, maybe if the dependecies to the anisotrophy settings yields a little more variable depth in GI filling so to speak?
 
Last edited:
I would guess the nishita model there in blender, used to generate the GI background light to fill in the dark parts, when you use a standard light there, the same process as using a white backdrop has to be made a bit different in blender than Lightwave, in the Tutorial they cheated with that and just went for a negativ brightness in the node correction of the nishita sky model, so as you Thomas pointed out..not sure why that would be necessary.

There you would just set the world color to white, and in it´s visibility panel, turn of ray visibilty to camera, black background while the white color is affecting the GI illumination of any object, either control amount by whiteness or by strength value.

Boy how fast it resolves in blender with GPU..it´s like night and day compared to Lightwave, though I like the quality of Lightwave renders..and all the other setup structural workflows.
need to look in to free octane perhaps.

background GI.jpg


Only reason I can think of would be that the connection of the light and nishita sky model, it takes in account the origin, pitch of the sun for the actual GI strength affecting the meshes, thus not any Uniform background color that fills the GI evenly, so it could be giving a more realistic look that way, since the nishita sky model is generating the intensity brightness based on the sun, and uses that sky model to GI light the models.
 
Last edited:
So you didn´t use any white backdrop color for the GI illumination? just the volumetric scatter?

No Backdrop color, only GI and Volumetric Scattering.

I think I need to look in to more references for the rouge episodes and it´s starship space shots, thought they were more lighted on the darker sides.

In the original, the dark areas are black.

The unseen camera in the bottom settings of the volumetrics, sure, but you have to enable affected by volumetrics in the GI tab, so the scatter intensity affects the illumination.
But that´s not what you used, so not sure why you refer to that, or if you refered to the indirect unseen by camera?

Affected By Volumetrics in the GI tab is on, but Unseen By Camera works for its own. It eliminates the haze in the air but the illumination of the surfaces by the scattered light remains.

Sun angle, I see you used a higher value (2.5) than set down to earth so to speak, did you just go with a good look on that, or any physicly research about that one?

The ship is very close to a large star :). This has no real life role model: just how I like it.

ciao
Thomas
 
No Backdrop color, only GI and Volumetric Scattering.


In the original, the dark areas are black.


Affected By Volumetrics in the GI tab is on, but Unseen By Camera works for its own. It eliminates the haze in the air but the illumination of the surfaces by the scattered light remains.


The ship is very close to a large star :). This has no real life role model: just how I like it.

ciao
Thomas

Yep..true that, fairly black

Weird though..I tested unseen by camera, but it also cut away any illumination by scattered light from volumetrics, might have missed something, even when affected by volumetrics was on.
This was with the Global scattering, you didn´t use a volume item did you

Yes, go by the look of your good eye, stars are big and bright(y)
 
Second image is looking really good there, but for filling in darker areas, not really needed and too expensive for rendering

In this case, the render times are practically the same (Volumetric Scattering is even faster by 1.1 seconds with a total rendering time of 58 seconds for full HD). Volumetric Scattering gives a slightly finer lighting (for my taste) and doesn't need extra adjustment to match the color of the sunlight.

ciao
Thomas
Yes..I love adding slight volumetrics too.
Will have a go at it later again in Lightwave, but right now testing it in blender a bit more, some things in that tutorial that seems not necessary but I am not sure yet, have to check further.

But to illuminate it´s not really necessary, it´s just if you want that extra atmospheric lighting in general me thinks.
In your case since you neither used a white backdrop color to GI boost the dark parts, nor any sky texture, of course you need to use volumetric scattering to affect the GI, otherwise too dark.

But that´s the point, why not use a simple backdrop, if it´s just because it gives a too even look, and volumetrics gives a certain fallof based on light anisotrophy, isn´t that explaining what I said about using a sky texture model that also takes this in account to some degree?

To mix background star image with nishita sky model in blender, you have to block/separate the two backdround shader nodes with a light path node and camera ray in to factor, so that is a bit different from just turning off backdrop color in the camera viewport rendering, that would block out the star image, so that´s why you have to go that route, but that´s blender.

Anyway..you are a master at lighting Thomas, and the Image render you made is looking just great.
 
Last edited:
As I thought,

When testing the unseen by camera yep, the volumetrics in scene goes away as it should but it also took away the GI effect as I mentioned, despite of volumetrics should affect the GI, thought it may have been the light´s volumetric distance, but since I could see the volumetrics before unseen by camera and that was covering the ship, I thought that shouldnt´matter, but it did...

So testing with that Prometheus ship from Russel Tawn, never mind the surface here..if you can:) it was standard surface, so I would have to go in and convert them all.
Increasing the volumetric distance quite a bit brought the Volumetric affecting GI back.
Have to compare with pure backdrop colors or environment sky models instead as well.

prometheus1.jpg

prometheus2.jpg
Weird though..I tested unseen by camera, but it also cut away any illumination by scattered light from volumetrics, might have missed something, even when affected by volumetrics was on.
 
Testing environment gradient with a pitch set, not really that much of a difference from using global volumetric scattering, this is kind of linear from up to down though, so
it may still be that the anisotrophy setting would give a more subtle "falloff" of shadows/GI since it relates to the light angle of the source light itself.
Pure white color though, would give a bit of a too flat fill illumination.

prometheus3.jpg


As seen in both volume scatter affect GI sample, and the Gradient affect GI, both are brightening up the hull overall too much.( could of course fix surfaces as well)
But In this case ..the color ramp should have been inverted if I want more filling from the bottom, so easy to adjust.
That will be harder to adjust with volume scatter to affect the GI, since it goes by volume distance and anisotrophy only, but you could adress that nodally as well of course.
 
Last edited:
Volumetric affecting GI took twice as long as a simple backdrop gradient in render so for 1 minute with backdrop, the volumetric scatter took almost 2 minutes.

thought the volumetric Scatter GI solution was looking better with deeper darkness in cavities sort of, but it could be that I can correct the backdrop gradient to match that better, or use a procedural node editor and try some nodes for that environment texture.

Also have to check more with the sk sunsky perhaps.
 
In this case, the render times are practically the same (Volumetric Scattering is even faster by 1.1 seconds with a total rendering time of 58 seconds for full HD). Volumetric Scattering gives a slightly finer lighting (for my taste) and doesn't need extra adjustment to match the color of the sunlight.

Continued tests with Volumetric scattering GI boost only, VS environment texture for the backdrop to Boosg GI using various setups nodally...

The volumetric Scatter (only GI boost) takes twice as long as mentioned earlier, so a 20 minute render would take 40 minutes.
The difference is marginally different on the actual mesh in focus, but if you have other objects in the scene as well, that can change the look more differently.

May post more images tomorrow..
background GI boost.jpg
 
Back
Top